Setting up Azure’s P2S VPN Gateway with PowerShell — Part 2/3
This post outlines Steps 5–7 of the series of 10 steps to create an Azure P2S Connection. Do these steps AFTER Steps 1–4 given in Setting up Azure’s P2S VPN Gateway with PowerShell -Part 1
Steps 1–4 for Creating P2S Connection:
1. Log in to Azure and set variables
2. Configure a VNet
3. Create the VPN Gateway
4. Add the VPN client address pool
Steps 5–7 for Creating P2S Connection:
5. Generate certificates
6. Upload the root certificate public key info to Azure
7. Install an exported client certificate
5. Generate certificates
We’re using self-signed certificates in this case.
#A. Obtain the .cer file for the root certificate (Must be done from W10 or WS2016 machine)
$cert = New-SelfSignedCertificate -Type Custom -KeySpec Signature `
    -Subject "CN=P2SRootCert2" -KeyExportPolicy Exportable `
    -HashAlgorithm sha256 -KeyLength 2048 `
    -CertStoreLocation "Cert:\CurrentUser\My" `
    -KeyUsageProperty Sign -KeyUsage CertSign
#B1. Generate a client certificate (In same POSH session as #5.A above since it uses the $cert)
New-SelfSignedCertificate -Type Custom -DnsName P2SChildCert3 -KeySpec Signature `
   -Subject "CN=P2SChildCert3" -KeyExportPolicy Exportable `
   -HashAlgorithm sha256 -KeyLength 2048 `
   -CertStoreLocation "Cert:\CurrentUser\My" `
   -Signer $cert -TextExtension @("2.5.29.37={text}1.3.6.1.5.5.7.3.2")
#B2. For Creating additional client certificates (or a new POSH session)
#B2.1. Identity the self-signed root cert installed on computer
Get-ChildItem -Path “Cert:\CurrentUser\My”#B2.2. Locate the subject name from the returned list, then copy the thumbprint that is located next to it to a text file.
#B2.3. Declare a variable from the root certificate using the thumbprint from #B2.2. Replace THUMBPRINT with the
thumprint of the root certifiace from which you want to generate a child certificate.
$cert = Get-ChildItem -Path "Cert:\CurrentUser\My\THUMBPRINT"#B2.4. Modify and run the script below to generate a client certificate. (Change ‘Subject’ to modify CN Value — eg. to P2SChildcert3)
New-SelfSignedCertificate -Type Custom -DnsName P2SChildCert -KeySpec Signature `
   -Subject "CN=P2SChildCert3" -KeyExportPolicy Exportable `
   -HashAlgorithm sha256 -KeyLength 2048 `
   -CertStoreLocation "Cert:\CurrentUser\My" `
   -Signer $cert -TextExtension @("2.5.29.37={text}1.3.6.1.5.5.7.3.2")
#B2.5. Export Root Certificates Read the following: Export Certificates for P2S Connections
6. Upload Root Cert Info to Azure
#A. Declare the variable for your certificate name, replacing value with your own:
$P2SRootCertName = "P2SRootCert2.cer"#B. Replace the file path variable with your own file path to the exported root certificate, and then run the variable cmdlets:
$filePathForCert = "D:\Downloads\rootcert2.cer"
$cert = new-object System.Security.Cryptography.X509Certificates.X509Certificate2($filePathForCert)
$CertBase64_3 = [system.convert]::ToBase64String($cert.RawData)
$p2srootcert = New-AzureRmVpnClientRootCertificate -Name $P2SRootCertName -PublicCertData $CertBase64_3
#C. Upload the public key information to Azure:
Add-AzureRmVpnClientRootCertificate -VpnClientRootCertificateName $P2SRootCertName `
    -VirtualNetworkGatewayName $GWName -ResourceGroupName $RG `
    -PublicCertData $CertBase64_3
#D. Verify that the root certificate uploaded:
Get-AzureRmVpnClientRootCertificate -ResourceGroupName $RG -VirtualNetworkGatewayName $GWName7. Install an exported client certificate
If using a client/computer other than the one used to generate the client certificates, it is necessary to install an exported client certificate to the ‘2nd’ client/computer. The password created when the client certificate was exported is necessary for the installation of the .pfx file.
A. Copy the .pfx file to the client computer. Double-click the .pfx file to install
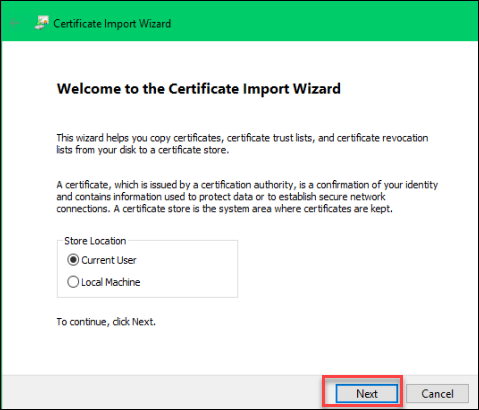
B. On the Welcome page, leave Store Location as Current User > Next:
C. On the File to Import page, accept defaults > Next:

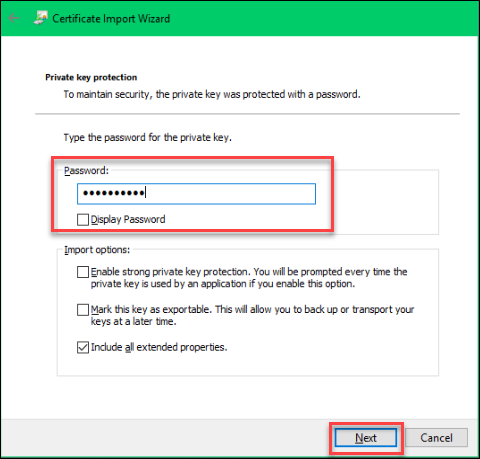
D. On the Private key protection page, enter the password for the certificate > Next:
E. On the Certificate Store page, leave default selection > Next:

F. Select Finish:

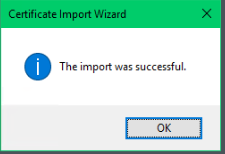
G. On the Security Warning page, select YES, since the source of the generated certificate is known and trusted. The certificate is successfully imported/installed.

Resources:
- ARM Quick Template: Create a Point-to-Site Gateway
- About Point-to-Site VPN
- Configure a Point-to-Site connection to a VNet using native Azure certificate authentication: Azure portal
- Configure a Point-to-Site connection to a VNet using native Azure certificate authentication: PowerShell
- Generate and export certificates for Point-to-Site connections using PowerShell on Windows 10 or Windows Server 2016
- Create and install VPN client configuration files for native Azure certificate authentication Point-to-Site configurations
- PowerShell script to create and export self-signed certificate
Originally published at https://arlanblogs.alvarnet.com on May 3, 2018.
